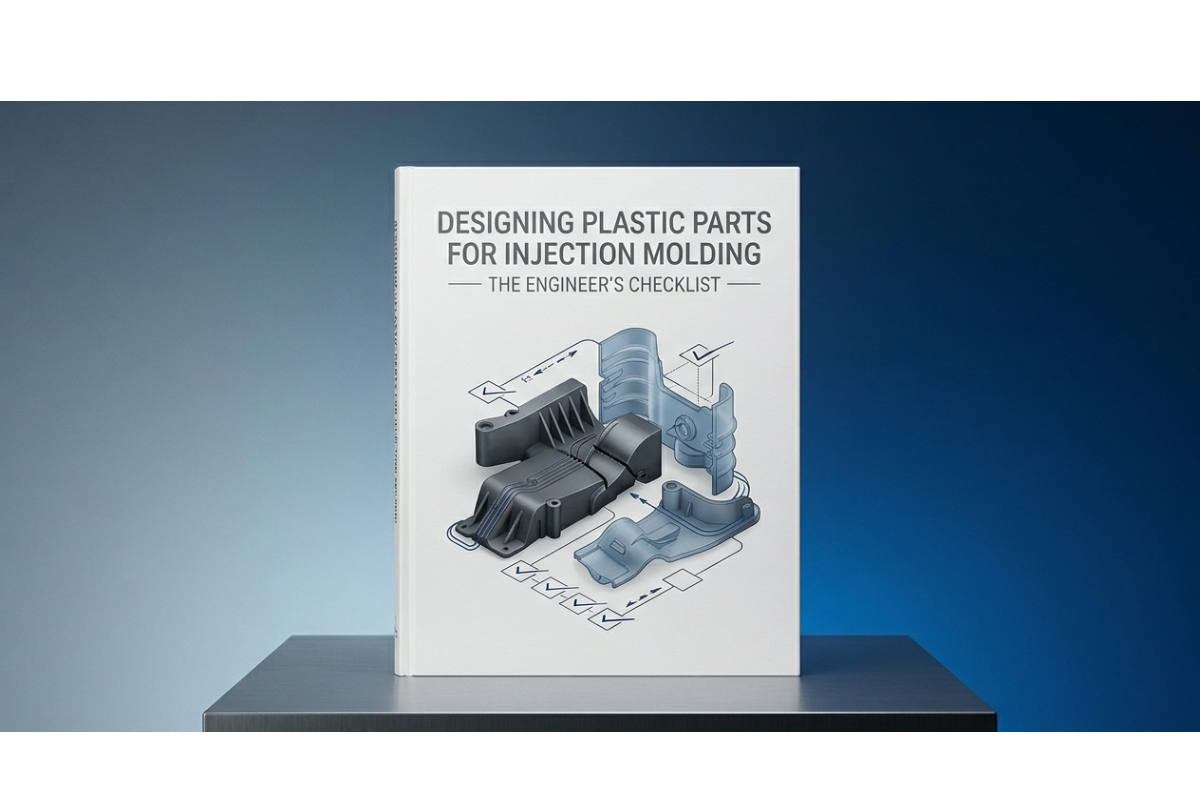
DFM 101: Designing Plastic Parts for Injection Molding — The Engineer's Checklist
Design for Manufacturability (DFM) is the practice of designing parts with the manufacturing process in mind from the beginning. For injection molding, applying DFM principles during design — rather than retrofitting them after a mold is built — is the single most effective way to reduce tooling cost, shorten lead time, and eliminate production defects.
This checklist covers the eight most critical DFM rules for plastic injection-molded parts.
1. Wall Thickness — The Foundation of a Good Mold Design
The rule: Keep wall thickness as uniform as possible throughout the part. The ideal thickness for most applications is 2–4mm. Avoid sections thicker than 6mm without coring.
Why it matters:
- Non-uniform walls cool at different rates, causing warpage and sink marks
- Thick sections extend cycle time and increase part cost
- Very thin walls (<0.8mm for most resins) may not fill reliably
Common wall thickness guidelines by material:
| Material | Minimum Wall | Recommended Range |
|---|---|---|
| ABS | 1.0mm | 1.5–3.5mm |
| PC | 0.75mm | 1.5–3.0mm |
| PP | 0.8mm | 1.5–4.0mm |
| PA66 (unfilled) | 0.5mm | 1.5–3.0mm |
| PA66-GF30 | 0.75mm | 2.0–4.0mm |
| POM | 0.8mm | 1.5–3.0mm |
Practical tip: If your CAD model has sections much thicker than 4mm, core them out. Remove the material from the inside (invisible side) of the part, leaving walls of consistent thickness. This reduces sink marks, cycle time, and material cost simultaneously.
2. Draft Angles — The Part Must Come Out of the Mold
The rule: Add draft (a slight taper) to all surfaces parallel to the direction of mold opening. Minimum 1° per side for smooth surfaces; more for textured surfaces.
Why it matters: Without draft, the part grips the mold surface during ejection, causing drag marks, scratches, or part distortion. Sufficient draft allows the part to release cleanly.
Draft guidelines:
| Surface Type | Minimum Draft | Recommended |
|---|---|---|
| Smooth (no texture) | 0.5° | 1°–2° |
| Light bead blast | 1° | 1.5°–2° |
| VDI 18 texture | 1.5° | 3° |
| VDI 30 texture | 3° | 4°–5° |
| VDI 45 texture (deep) | 5° | 7° |
| Deep ribs (>10mm) | 0.5° per side | 1° per side |
Common mistake: Designing a cosmetic surface with fine texture and only 0.5° of draft. The surface tears on ejection. Always specify texture requirements before finalizing mold design — the texture depth directly determines the required draft.
3. Ribs — Adding Stiffness Without Adding Thickness
Ribs are the most common way to add structural rigidity to a plastic part without increasing wall thickness. But poorly designed ribs cause sink marks and stress concentrations.
The rules:
- Rib thickness: 50–60% of the nominal wall thickness (never more than 70%)
- Rib height: Maximum 3× the nominal wall thickness; taller ribs require more draft
- Rib spacing: At least 2× the rib thickness between adjacent ribs
- Rib base radius: Minimum 0.25× the wall thickness at the rib base
- Draft on ribs: Minimum 0.5° per side; 1° recommended
Example calculation:
- Nominal wall thickness: 3mm
- Maximum rib thickness: 3 × 0.6 = 1.8mm
- Maximum rib height: 3 × 3 = 9mm
- Minimum base radius: 3 × 0.25 = 0.75mm
Common mistake: Ribs at 100% wall thickness. These create severe sink marks on the opposite face and will require process compensation or mold modification.
4. Radii and Fillets — Eliminate Sharp Internal Corners
The rule: All internal corners should have a minimum radius of 0.5× wall thickness. External corners should also be radiused where possible.
Why it matters:
- Sharp internal corners create stress concentrations in the part — the corner is the first place a part will crack under load
- Sharp corners are difficult to machine — EDM (electrical discharge machining) is required, adding cost
- Melt flow around sharp corners is turbulent, causing surface defects and potential short shots
Recommended corner radii:
| Corner Location | Minimum Radius |
|---|---|
| Internal (stress bearing) | 0.5–1.0× wall thickness |
| Internal (non-structural) | 0.25× wall thickness minimum |
| External corner | 1.5× wall thickness (cosmetic) |
Exception: Parting surface corners can be sharp (0° radius) where necessary for shut-off between core and cavity, but these should be kept to a minimum.
5. Bosses — Attachment Points Done Right
Bosses (hollow cylinders with a hole for a self-tapping screw or heat-stake insert) are among the most common features that cause sink marks if not designed correctly.
The rules:
- Boss outer wall thickness: Maximum 60% of the nominal part wall
- Boss support ribs: Connect the boss to the nearest wall with ribs no thicker than the boss wall
- Boss height: Maximum 3× the boss outer diameter
- Boss location: Avoid placing bosses close to the mold parting line (creates shut-off complexity and potential flash)
Boss sizing for common insert types:
| Insert Thread | Pilot Hole Diameter | Boss OD Recommended |
|---|---|---|
| M3 heat-stake insert | 4.0mm | 7.5–8.0mm |
| M4 heat-stake insert | 5.0mm | 9.0–10.0mm |
| #4 self-tapping screw | 2.8mm | 6.5–7.0mm |
| M3 self-tapping screw | 2.5mm | 6.0–7.0mm |
6. Undercuts — Avoid or Design for Release
An undercut is any feature that prevents the part from being pulled straight out of the mold in the direction of mold opening. Undercuts require additional mold mechanisms — side actions (slides), lifters, or collapsible cores — which add cost and complexity.
Types of undercuts:
| Feature | Tooling Required | Indicative Cost Adder |
|---|---|---|
| External snap hook | Side action (slide) | $500–$2,000 per slide |
| Internal thread | Unscrewing mechanism or collapsible core | $2,000–$8,000 |
| Through hole (perpendicular to draw) | Side action | $500–$1,500 |
| Internal undercut | Lifter or collapsible core | $1,000–$5,000 |
Design strategies to eliminate undercuts:
- Redesign snap-fit tabs to pull in the mold draw direction
- Replace internal threads with heat-stake inserts (press-fit threaded inserts after molding)
- Split the part into two components to eliminate internal undercuts
- Use a “tunnel gate” style — partial undercuts that form during ejection and snap over the gate witness
When undercuts are unavoidable, discuss with your mold supplier early. The tooling cost and mold complexity should be factored into your part cost from the beginning.
7. Gate Location — Where the Plastic Enters Matters
The gate is the opening through which molten plastic enters the mold cavity. Gate location affects fill, weld line position, surface appearance, and dimensional stability.
What the designer should specify:
- Gate witness mark location — where on the part is the gate scar acceptable?
- No-gate zones — cosmetic surfaces, bearing surfaces, thread engagement areas
- Symmetry preference — symmetrical filling reduces warpage tendency
Common gate types:
| Gate Type | Appearance | Cost | Best For |
|---|---|---|---|
| Edge gate | Witness mark on parting line | Low | Non-cosmetic parts |
| Submarine gate | Hidden, self-degating | Medium | Cosmetic parts (scar on underside) |
| Pin point gate | Very small mark | Medium-high | Small precision parts |
| Hot tip gate | Minimal witness mark | High (hot runner) | Cosmetic, no cold sprue |
| Valve gate | Flush surface, no mark | Highest | Highest cosmetic grade |
Gate sizing principle: Gates should be sized to allow complete fill before freezing, but small enough to allow clean degating. A gate too small creates excessive shear stress in the melt — causing burning, degradation, and jetting defects.
8. Ejection — Getting the Part Out Cleanly
The ejection system pushes the part out of the mold at the end of each cycle. Poorly placed ejectors leave visible marks on cosmetic surfaces or distort flexible parts.
Ejector location rules:
- Place ejectors on non-cosmetic surfaces (inside faces, hidden ribs)
- Provide sufficient ejector area for the part weight and ejection force required
- Avoid ejectors directly on thin walls (part deflects or punctures)
- On tall, deep parts — consider stripper rings or blades instead of pins
Ejector pin witness marks: All parts ejected by pins will have a slight witness mark. Agree with your supplier on the acceptable mark height (typically ≤0.05mm raised or flush) and confirm ejector locations on the mold design before machining.
DFM Checklist Summary
Before submitting your part file for mold quotation, run through this checklist:
- Wall thickness 1.5–4mm, no abrupt changes > 2:1 ratio
- All external and internal faces have draft ≥ 1° (more for texture)
- Rib thickness ≤ 60% of nominal wall
- All internal corners have radius ≥ 0.25mm (preferably 0.5× wall)
- Boss outer diameter ≤ 60% of nominal wall
- No unintentional undercuts; all required undercuts are identified
- Gate location preference (or no-gate zones) documented
- Ejector surfaces identified and cosmetic surfaces marked
Submitting a part that passes this checklist to your mold supplier will result in fewer DFM comments, a more accurate quote, and a shorter time to first article.
JBRplas provides a written DFM report on every part we quote — at no charge. Submit your file and we’ll return a detailed analysis within 2–3 business days.